Flat walls are boring. That’s the blunt truth many homeowners discover when they’re trying to add character to a living room without gutting the place. Luxury 3D wallpaper offers depth, texture, and visual drama, without the commitment of permanent architectural changes. In 2026, advances in vinyl formulations and eco-solvent printing have made 3D wallpapers more durable, washable, and easier to install than ever. Whether the goal is a geometric focal wall or a nature-inspired accent, dimensional wallpaper delivers impact that paint can’t match. This guide walks through design styles, selection criteria, installation techniques, and maintenance so homeowners can tackle the project with confidence.
Table of Contents
ToggleKey Takeaways
- Luxury 3D wallpaper creates optical depth through embossed surfaces and layered printing, delivering visual impact that standard paint and flat wallpaper cannot match for living rooms.
- Geometric and nature-inspired designs suit different aesthetics—monochromatic geometrics work in modern spaces while embossed florals complement traditional or transitional living rooms.
- Proper wall preparation, including priming and cleaning, is essential for successful 3D wallpaper installation and prevents common issues like bubbling and weak adhesion.
- Type II or Type III vinyl-backed wallpapers offer superior durability and washability, making them ideal for high-traffic living rooms and homes with children or pets.
- Quality luxury 3D wallpaper lasts 10–15 years with regular maintenance, which includes gentle cleaning, humidity control (30–50% RH), and protection from direct UV exposure.
Why Choose 3D Wallpaper for Your Living Room
3D wallpaper creates optical depth through embossed surfaces, layered printing, or trompe-l’œil effects. Unlike standard flat wallpaper, it catches and reflects light at different angles, making walls feel alive.
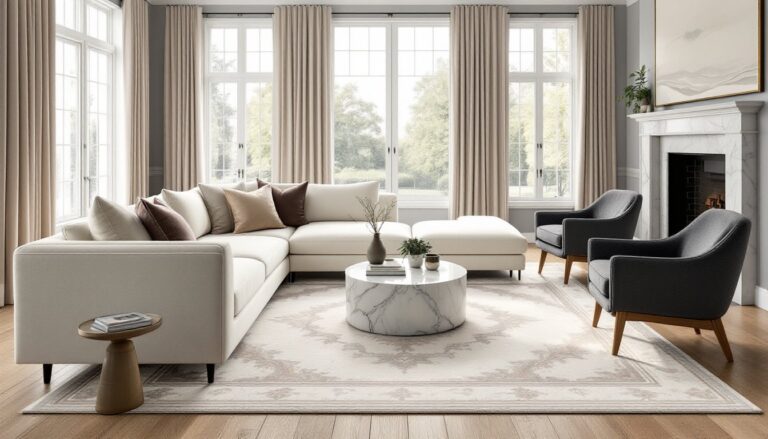
Visual impact is the primary reason. A single accent wall covered in dimensional panels can anchor a seating area, highlight a media console, or frame a fireplace without additional molding or millwork. It’s faster and less invasive than installing wainscoting or faux stone.
Concealment is another practical benefit. Textured 3D surfaces hide minor drywall imperfections, small dings, tape seams, or slight waviness, better than flat paint or smooth wallpaper. That said, the wall still needs to be clean, dry, and primed. Don’t skip prep thinking texture will fix major damage.
Reversibility matters for renters or anyone hesitant about permanent changes. Many luxury 3D wallpapers use peel-and-stick adhesive or traditional paste that removes cleanly with a steamer and scraper. Check the product spec sheet: some heavyweight vinyl-backed papers require a primer-sealer like Gardz to prevent drywall face-paper tear on removal.
From a design perspective, 3D wallpaper suits both contemporary and traditional living rooms. Geometric patterns complement mid-century modern furniture and clean lines, while embossed florals work in transitional or classic spaces. The key is matching scale: large patterns (repeat over 24 inches) need tall ceilings and spacious rooms to avoid overwhelming the space.
Popular Luxury 3D Wallpaper Design Styles
Geometric and Abstract Patterns
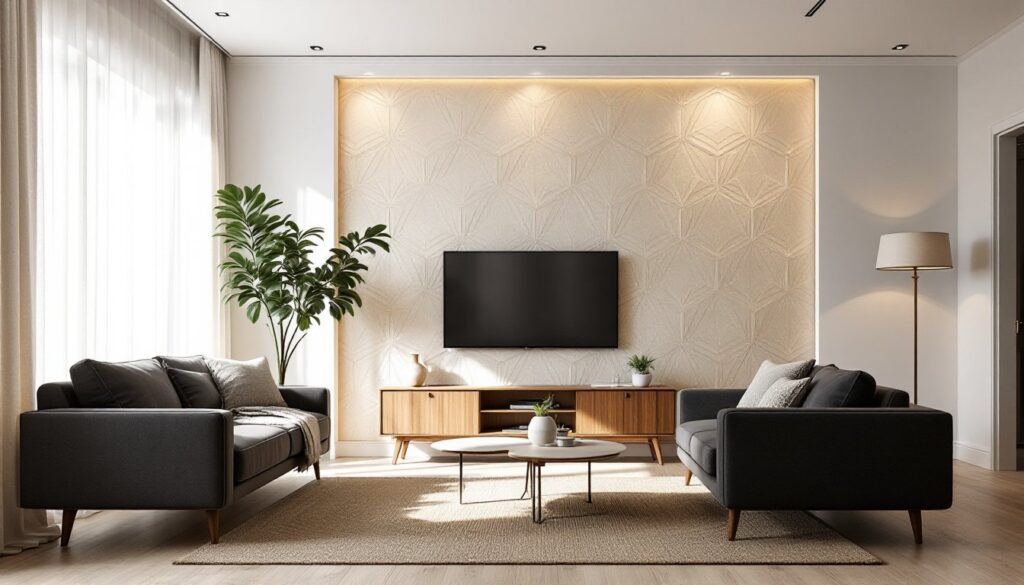
Geometric 3D wallpapers use repeating shapes, hexagons, triangles, chevrons, or interlocking cubes, to create visual rhythm and depth. Embossed or shadow-printed lines enhance the illusion of receding and advancing planes.
Materials range from heavyweight non-woven vinyl (the most common for DIY) to fabric-backed or flock-textured specialty papers. Non-woven is dimensionally stable, meaning it won’t shrink or expand with humidity changes, and paste goes on the wall rather than the paper, a huge time-saver.
Color strategy matters. Monochromatic geometric designs (white-on-white, gray-on-gray) add texture without pattern overload, ideal for rooms with bold furniture or art. High-contrast metallics, gold on charcoal, silver on navy, make strong focal points but can feel busy if used on all four walls. Limit metallic geometrics to one accent wall.
Scale considerations: Small-scale geometrics (under 6-inch repeat) read as texture from a distance and work in compact living rooms. Large-scale patterns (18+ inch repeat) need at least 10 feet of viewing distance and ceilings over 9 feet to avoid a cramped feel. Many smart luxury homes pair geometric 3D wallpaper with integrated LED strip lighting to enhance shadow play at night.
Nature-Inspired and Floral Designs
Nature motifs, oversized tropical leaves, bamboo groves, cherry blossoms, or abstract organic forms, bring softness and movement to living rooms. These designs often combine raised textures with hand-painted or digital-print effects.
Embossed florals in neutral palettes (ivory, taupe, soft gray) offer subtle elegance without looking dated. Look for vinyl formulations with a Class A fire rating if local code requires it for residential living spaces (some jurisdictions do for multi-family dwellings).
Bold tropicals in saturated greens, deep blues, or jewel tones create statement walls. Pair them with natural materials, jute rugs, linen upholstery, wood trim, to balance the visual weight. Designers at Elle Decor’s removable wallpaper roundup highlight how peel-and-stick tropical designs let renters experiment without landlord approval.
Texture types include flock (fuzzy raised fibers, classic but dust-prone), vinyl emboss (cleanable and durable), and non-woven with 3D-printed layers. Flock wallpapers require gentle vacuuming with a brush attachment: vinyl-embossed options tolerate damp-cloth cleaning, making them better for homes with kids or pets.
Avoid over-matching. If the wallpaper features large-scale florals, keep throw pillows and curtains solid or small-pattern to prevent visual chaos.
How to Select the Perfect 3D Wallpaper for Your Living Room
Start with the wall itself. Measure height and width, accounting for windows, doors, and outlets. Most wallpaper rolls are 20.5 inches wide (European standard) or 27 inches wide (US). Calculate square footage, then add 15% overage for pattern matching and trimming waste. Large-pattern repeats can push waste closer to 20%.
Substrate compatibility is critical. Drywall, plaster, and smooth paneling accept wallpaper well. Textured surfaces (knockdown, orange peel) telegraph through thin papers: either skim-coat with joint compound first or choose a heavyweight embossed paper that masks texture. Glossy paint needs light sanding (150-grit) or a coat of wallpaper primer to improve adhesion.
Pattern repeat affects both aesthetics and installation difficulty. Straight match (pattern aligns horizontally at seams) is easiest. Drop match or offset match requires careful alignment and generates more waste but often looks more dynamic. Check the product label for repeat distance (e.g., “24-inch drop repeat”).
Durability ratings matter for high-traffic living rooms. Look for Type II vinyl (scrubbable, stain-resistant) or Type III (highly washable). Non-woven backings resist tearing and handle minor wall movement better than traditional paper-backed types. Projects featured in modern luxury homes often specify commercial-grade wallcoverings rated for hospitality use, overkill for residential, but bulletproof if you have pets or toddlers.
Lighting changes how 3D effects read. North-facing rooms with cool, indirect light suit warm-toned or metallic papers that add luminosity. South-facing rooms with strong sun can handle deeper colors and bold textures without feeling cave-like. Test samples on the actual wall at different times of day before committing to full rolls.
Budget reality: Luxury 3D wallpapers range from $40 to $150+ per roll. A typical accent wall (10 feet wide × 9 feet tall = 90 sq ft) needs about 5–6 rolls at 20.5-inch width, assuming pattern waste. Expect $250–$900 in material costs, plus adhesive, primer, and tools. Pre-pasted options cost more per roll but eliminate separate adhesive mixing.
DIY Installation Tips for 3D Wallpaper
Prep the wall first. Remove outlet covers, patch holes with spackle, and sand smooth once dry. Wipe down with TSP substitute or a damp rag to remove dust and grease. Prime with a PVA primer (for new drywall) or an acrylic primer-sealer (for painted walls). Primer creates uniform porosity, preventing the paste from soaking in unevenly and causing bubbles or weak bond.
Materials and tools:
- Wallpaper rolls (with 15–20% overage)
- Wallpaper adhesive (pre-mixed clay or cellulose paste for non-woven: follow manufacturer spec)
- 6-inch drywall knife or wallpaper smoother
- Seam roller (small rubber roller, not a J-roller for heavy vinyl)
- Utility knife with fresh blades
- Plumb bob or laser level
- Bucket, sponge, drop cloths
- Step ladder
Step-by-step installation:
-
Establish a plumb line. Walls are rarely perfectly vertical. Use a laser level or plumb bob to mark a true vertical line 20 inches from the corner (assuming 20.5-inch-wide rolls). This is your starting guide.
-
Cut the first strip. Measure wall height, add 4 inches (2-inch trim allowance top and bottom), and cut. If the pattern has a repeat, align subsequent strips so motifs match at eye level (roughly 60 inches from the floor).
-
Apply adhesive. For paste-the-wall types (most non-woven), roll adhesive onto the wall section. For paste-the-paper types, lay the strip face-down on a clean table, apply paste evenly with a roller, then book it (fold ends to center, paste-to-paste) and let rest 5 minutes to activate.
-
Hang the strip. Align the edge with your plumb line, leaving 2 inches of overhang at the ceiling. Smooth from center outward with a smoother or 6-inch knife, pushing out air bubbles. Don’t press too hard on embossed areas or you’ll flatten the texture.
-
Trim top and bottom. Use a drywall knife as a guide and a sharp utility knife to cut along the ceiling line and baseboard. Change blades every few cuts, dull blades tear paper.
-
Butt seams carefully. 3D wallpapers are thicker than standard papers, so overlap seams will show. Butt edges tightly (no gap, no overlap). Roll seams gently with a seam roller after 10 minutes, once the paste has started to set. Wipe excess paste immediately with a damp sponge: dried paste dulls the finish.
-
Match the pattern. Align each new strip so the repeat lines up horizontally. For drop-match patterns, the match point shifts down by half the repeat distance with each strip. Patience here prevents obvious misalignment.
Safety note: Wear a dust mask if sanding primer or old paint. Use gloves when handling paste: some contain fungicides that irritate skin. Ensure good ventilation.
Common mistakes to avoid:
- Starting in a corner (corners are rarely plumb: start with a level line)
- Overstretching wet paper (causes shrinkage and gaps when dry)
- Skipping the seam roller (leads to peeling edges)
- Using too much paste (causes sliding and prolonged dry time)
For projects in luxury modern mansions, professional installers often use a paste machine and booking table, but DIYers can achieve clean results with hand tools and careful measuring. A second pair of hands helps when handling strips over 9 feet long.
Maintaining and Caring for Your Luxury 3D Wallpaper
Cleaning frequency depends on texture and location. Smooth vinyl-embossed papers in low-traffic living rooms need only occasional dusting with a microfiber cloth or vacuum brush attachment. Textured flock or fabric-backed papers attract more dust: vacuum monthly.
Spot cleaning: For washable (Type II) wallpapers, use a damp sponge with mild dish soap and water. Test in an inconspicuous area first. Blot, don’t rub, to avoid flattening embossed details. Avoid ammonia-based cleaners or abrasive sponges: they can strip protective coatings or dull metallic finishes. Homes featured on MyDomaine often recommend pH-neutral wallpaper cleaners for delicate surfaces.
Stain removal: Grease or crayon marks sometimes respond to wallpaper dough (a putty-like cleaner) or a paste of baking soda and water. Dab gently, let sit 5 minutes, then wipe with a damp cloth. Permanent marker or wine stains on non-scrubbable papers may not come out: consider patching the damaged section if you kept leftover rolls.
Humidity control prevents peeling and mold. Living rooms in humid climates or homes without HVAC should maintain 30–50% relative humidity. Excessive moisture softens paste and encourages mold growth behind the paper. If seams start lifting, re-glue with a seam adhesive (sold in small tubes with a needle applicator), then roll and wipe clean.
Sun protection: UV exposure fades pigments, especially in non-lightfast inks. Use sheer curtains or UV-blocking window film on south- and west-facing windows. Metallic and vinyl-coated papers resist fading better than untreated paper or natural fibers.
Repairs: Small tears can be patched. Cut a piece slightly larger than the damage, match the pattern, apply paste to the wall, and position the patch. Feather edges with fine-grit sandpaper after it dries if the seam is visible. For large damaged areas, it’s often cleaner to replace an entire strip from ceiling to baseboard.
Longevity expectations: Quality 3D wallpaper in a well-maintained living room lasts 10–15 years. Cheaper peel-and-stick options may start peeling at seams or corners after 3–5 years, especially in homes with temperature swings. Inspect seams annually: a quick pass with a seam roller and a dab of adhesive prevents bigger problems.
If removal is eventually needed, rent a wallpaper steamer (about $25/day from tool rental centers). Steam loosens paste without the elbow grease of dry scraping. Peel from top to bottom in full strips when possible. Residual paste comes off with a paste remover solution and a sponge.
Regular care keeps 3D wallpaper looking sharp without major effort. Treat it like upholstery, gentle cleaning, prompt spot treatment, and protection from extremes. Done right, it’s a low-maintenance upgrade that delivers outsized visual impact for years.